

Table of Contents
- Vector vs Raster Files for Laser Engraving
- Recommended File Formats: SVG, DXF, and PNG
- Setting Up Artboards and Full-Scale Dimensions
- Creating Closed Paths, Shapes, and Layer Organization
- Best Software for Laser Engraving Design
- Preparing Photos for Laser Engraving
- Troubleshooting Ghost Lines, Open Paths, and Import Errors
- Conclusion
- Frequently Asked Questions
Last Updated: September 14, 2026
Vector vs Raster Files for Laser Engraving
Learning how to prepare files for laser engraving starts with one decision: vector or raster. Vector files store artwork as mathematical paths, so they scale to any size without losing edge quality. Raster files store artwork as a grid of pixels, so they carry photographic detail but degrade when enlarged. This guide from Dr. Stymie's Maker Products, LLC. breaks down each format, when to use it, and how to avoid the errors that waste material.
That single distinction explains most failed jobs we see. A logo exported as a low-resolution PNG will engrave soft and blurry. A photograph forced into a cutting path will never produce clean edges.
Adobe's guide to vector graphics describes the same split: paths for shapes, pixels for photos. Pick wrong and no machine setting will rescue the result.
When to Use Vector Paths
Vector paths are the right choice for anything with a defined edge: logos, text, monograms, cut lines, and line art. Each path is a mathematical curve, so the laser follows it exactly at any scale. Vectors also let you separate cutting paths from engraving paths, which keeps a single file organized for the machine.
- Logos and monograms: clean, repeatable outlines
- Text: crisp letterforms at small sizes
- Cut lines: closed shapes the laser traces completely
- Line art: consistent stroke weight across the design
The trade-off: vectors cannot reproduce a photograph. Gradients and soft shadows do not survive the conversion.
When Raster Images Make Sense
Raster images win for photographs, painted textures, and anything with tonal variation. The laser varies power dot by dot to build shading, so the source file needs enough pixel density to hold that detail. For engraving, aim for 300 dpi at final size, or higher for fine work (How Image Resolution Affects Engraving Quality Performance).
Bitmaps also suit filled shapes where you want a solid burn rather than an outline. A solid black rectangle engraves as a filled area; a vector outline engraves as a border.
Recommended File Formats: SVG, DXF, and PNG
SVG, DXF, and PNG cover nearly every laser job, but they are not interchangeable. Each one stores geometry differently, and that difference determines what the laser software can actually do with the file once it lands on the bed. Export to the format that matches your artwork, not the one your design software defaults to.
| Format | Type | Best For | Watch Out For |
|---|---|---|---|
| SVG | Vector | Logos, text, line art, layered color jobs | Convert text to paths before export; embedded raster images bloat the file |
| DXF | Vector | CAD-style cut files, parts with dimensions | Check units on import; some exporters drop splines and curves |
| PNG | Raster | Photos, textures, grayscale engraving | Keep at 300 dpi or higher; transparency can import as solid black |
| Vector + Raster | Mixed jobs, client-supplied art | Fonts must be embedded or outlined; not all laser software reads layers | |
| BMP | Raster | Legacy engraving software, grayscale photos | No compression, so files get large fast |
Why SVG Is the Default for Most Jobs
SVG is an open XML format, which means the paths, fills, and layer names are all readable text. LightBurn, Inkscape, and most laser front-ends import SVG natively and preserve layer color, so a red cut layer stays red and the software assigns the correct power and speed automatically. The catch is text: SVG can carry live text, and if the engraving software does not have that font installed, it substitutes a default and the layout shifts. Convert text to paths before export. The second catch is embedded images, an SVG with a linked PNG inside it is really two files, and the raster half will not scale with the vector half.
When DXF Beats SVG
DXF is the format CAD tools speak, and it is the safer choice when your artwork comes out of Fusion 360, AutoCAD, or any program that thinks in real-world dimensions. DXF carries explicit units, so a 100 mm bracket stays 100 mm. The failure mode is the opposite of SVG: some exporters convert splines and bezier curves into faceted polylines, and a smooth curve arrives as a chain of tiny straight segments. Zoom in on every curve after import. If the edge looks like a staircase, re-export with splines preserved or convert the curve to arcs first.
PNG and the Raster Formats
PNG is the workhorse for photographs and grayscale engraving because it is lossless, no JPEG-style compression artifacts that the laser will faithfully burn into the material. Export at 300 dpi at final size, not at some larger size you plan to shrink. Transparency is a common trap: a PNG with a transparent background can import as a solid black rectangle in some laser programs, so flatten the image onto white before export. BMP still shows up in older engraving software and in some rotary and galvo workflows, but it is uncompressed, so a full-sheet photo can run into the hundreds of megabytes.
Matching Format to Material
Format choice also depends on what you are engraving. Wood and acrylic cut jobs want SVG or DXF with clean closed paths. Metal marking jobs, especially on coated or anodized stock, often start from a high-contrast PNG or a vector with a filled shape, because the laser is removing a coating rather than cutting through. Slate, leather, and dark acrylic engrave best from grayscale raster files where the laser varies power dot by dot. If you are not sure, export both a vector and a raster version of the same artwork and run a small test coupon on scrap before committing a full sheet.
Setting Up Artboards and Full-Scale Dimensions
Build every file at full scale in the units your laser software expects. A design drafted at half size and scaled up on import introduces rounding errors that show as misaligned edges. Set the artboard to the exact material dimensions, then place artwork inside that boundary.
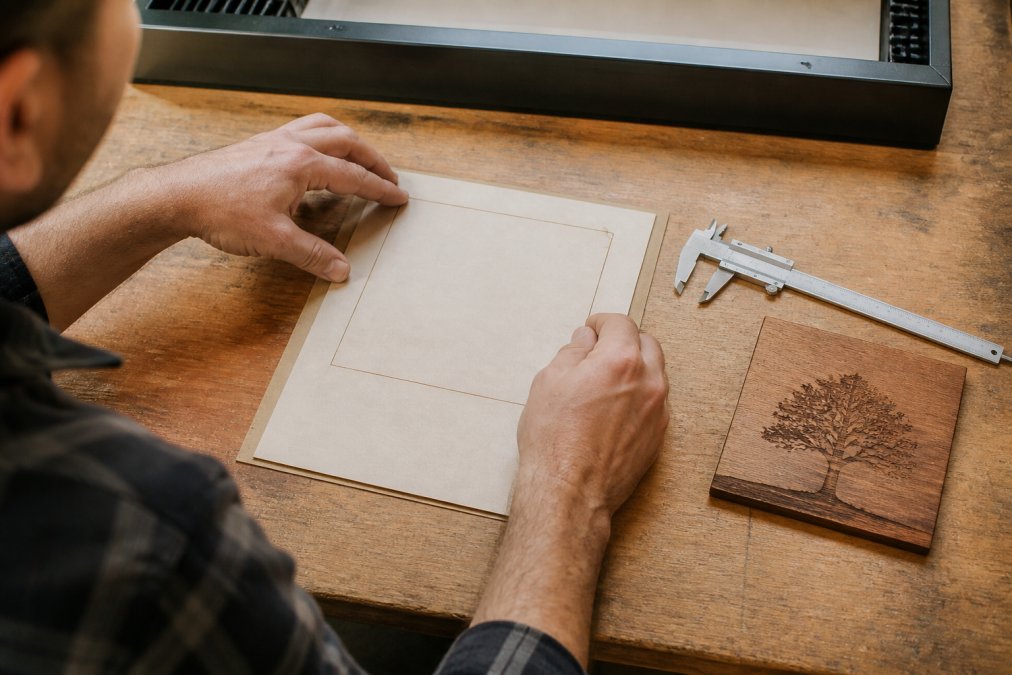
Keep the bounding box tight around your artwork. Extra empty space throws off alignment and nesting when you place multiple parts on one sheet. If your material is 3 mm thick, note that thickness in the file name so the operator sets focus correctly.
Creating Closed Paths, Shapes, and Layer Organization
Closed paths are non-negotiable for cutting. An open path leaves a gap the laser never closes, so the part stays attached to the sheet. Check every cut shape for a complete outline before you send the file.
Layer separation does the rest of the work. Put cut lines on one layer, engraving on another, and score lines on a third. Color-code each layer so the software assigns the right power and speed without manual edits. This is also where fill versus stroke matters: use stroke for cut lines and fill for engraved areas.
- Red layer: cut paths
- Blue layer: engraving
- Green layer: score lines
Best Software for Laser Engraving Design
The best software for laser engraving design depends on your workflow, not your budget. LightBurn handles layout and machine control in one place. Inkscape gives you a free, full-featured vector editor. Illustrator suits designers already working in Adobe's ecosystem. Most shops end up using two: one for design, one for machine control.
- LightBurn: layout, nesting, and direct machine control in a single tool
- Inkscape: free vector editing with solid SVG and DXF export
- Illustrator: professional vector tools for complex artwork
Check import settings on every transfer. A DXF that reads in millimeters in one program can arrive in inches in another, and the part comes out the wrong size. Confirm units before you cut.
Preparing Photos for Laser Engraving
Preparing photos for laser engraving means converting continuous tone into something the laser can reproduce dot by dot. The machine cannot vary gray; it either fires or it does not. Dithering solves this by scattering dots at varying density to create the illusion of shading. Get this step right and a photo engraves with real depth. Get it wrong and you get a muddy rectangle that wastes a full sheet of material.
Dithering and Grayscale Optimization
Grayscale optimization starts before dithering. Boost contrast, sharpen edges, and remove backgrounds so the subject reads clearly in a single color. Then choose a dithering pattern. The two families behave very differently:
- Ordered dithering (halftone, Bayer, newsprint): places dots on a fixed grid. Produces consistent, predictable texture and holds up well on wood and leather where the grain already adds noise. The trade-off is visible patterning in smooth gradients like skin or sky.
- Error diffusion (Floyd-Steinberg, Jarvis, Stucki): scatters dots based on the error between the original pixel and the dithered result. Produces smoother gradients and better tonal range, but the dot pattern is irregular and can look grainy on coarse materials.
- Threshold (1-bit): no dithering at all, every pixel is either black or white. Use this for line art, logos, and high-contrast graphics, never for photographs.
Most laser software ships with several of these presets. LightBurn, for example, exposes Threshold, Ordered, Newsprint, and several error-diffusion variants in the image settings panel. Start with Stucki for portraits on light wood, and switch to ordered dithering when the material has strong grain or when you need repeatable results across a batch.
Image Prep Checklist
- Increase contrast so midtones do not turn to mud. A photo that looks fine on screen often engraves flat because the laser's tonal range is narrower than a monitor's.
- Sharpen edges to keep facial features readable. A light unsharp mask beats a heavy one; over-sharpening creates halos that burn as bright rings.
- Remove busy backgrounds that compete with the subject. A clean, high-contrast background engraves as a solid field and makes the subject pop.
- Match dithering to the material: finer patterns on wood and paper, coarser on dark surfaces and coated metals where each dot is more visible.
- Work in grayscale, not color. Convert to grayscale before dithering so the software is not guessing at luminance from RGB channels.
Resolution, Power, and the Material Variable
Resolution and dithering interact. At 300 dpi, a 4 in × 6 in photo is 1200 × 1800 pixels, enough for most wood and acrylic work (adobe.com). Going to 600 dpi doubles the file size and the engraving time without a visible gain on most materials, because the laser's spot size is the real limit. On dark materials like black acrylic or anodized aluminum, the laser is removing a coating rather than burning wood, so the tonal curve inverts: more power means lighter, not darker. Test a small coupon at three power settings before running the full image.
Batch and Repeatability Notes
If you engrave the same photo across multiple pieces, save the prepped grayscale file and the dithering settings together, not just the original JPEG. Re-dithering from the source each time introduces small variations that show up as inconsistent tone across a production run. Keep a master file per image with the dithering pattern, resolution, and power/speed settings recorded in the file name or a companion text file.
Troubleshooting Ghost Lines, Open Paths, and Import Errors
Ghost lines, open paths, and import errors trace back to the file, not the machine. Ghost lines are usually stray nodes or duplicate paths left over from editing. Open paths come from shapes that were never closed. Import errors often mean a unit mismatch or an unsupported format.
- Ghost lines: delete stray nodes and duplicate paths in the design software
- Open paths: close every cut shape and re-check after edits
- Import errors: confirm units and re-export in SVG or DXF
For batch production, keep a clean master file per product and duplicate it rather than editing a copy. Version the file names so you always cut from the current design.
Conclusion
File preparation is where most laser jobs succeed or fail, long before the machine fires. Build at full scale, close every cut path, separate your layers, and match the format to the artwork. Dr. Stymie's Maker Products, LLC. handles custom laser engraving, laser-cut products, and small production runs in our Maker Lab, turning customer ideas into finished pieces. You bring the idea; we'll conduct the experiment. Get started with Dr. Stymie's Maker Products, LLC. and turn your design into a finished piece.
Frequently Asked Questions
What is the best file format for laser engraving?
SVG is the best all-around format for laser engraving files because it keeps vector paths editable and scales without losing quality. DXF works well for CAD-based cutting and engraving, especially when you need precise dimensions. PNG is a solid choice for raster engraving when you need grayscale detail. Avoid JPG for linework since compression creates fuzzy edges that show up in the final burn.
Is SVG or PNG better for laser engraving?
SVG is better for cutting and vector engraving because the paths stay sharp at any size and the laser follows clean lines. PNG is better for photographic engraving where you need grayscale shading, since it supports transparency and does not add compression artifacts. Many projects use both: an SVG for the cut outline and a PNG for the engraved image inside it.
How do I prepare a photo for laser engraving?
Start with a high-resolution image, at least 300 DPI at the final size. Convert it to grayscale, boost contrast so midtones separate clearly, and apply dithering if your software supports it. Save as PNG to avoid compression artifacts. Test on scrap material first, since engraving depth and speed change how the photo reads on wood, leather, or acrylic.
Do I need vector files for laser engraving?
Not always. Vector files are required for cutting and for crisp line engraving, but raster files work fine for photo engraving and shaded designs. If your project mixes both, keep the cut lines as vector paths and place the raster image on a separate layer so your software can tell the laser which mode to use for each element.