

Table of Contents
- What Custom Laser Engraving Cost Actually Includes
- The Engraving Cost Formula: Materials, Labor, Machine Time, and Overhead
- How a Laser Engraving Pricing Spreadsheet Keeps Every Quote Consistent
- When to Charge a Laser Engraving Setup Fee and Minimum Charge
- Wholesale Laser Engraving Pricing for Bulk and Repeat Orders
- Setting a Laser Engraving Profit Margin You Can Defend
- Quote, Track, and Adjust: A Repeatable Pricing Workflow
- Frequently Asked Questions
Last Updated: October 7, 2026
What Custom Laser Engraving Cost Actually Includes
Custom laser engraving cost for small business owners is not one number. It is a stack of costs: materials, machine time, labor, design work, and overhead. Miss any layer and your quotes quietly lose money.
Most new engravers price only the blank and a rough guess at time, the mistake that kills margins.
Startup Investment vs. the Cost of One Job
Startup investment is what you spend to open the doors: the laser cutter, ventilation, software, and the first batch of blanks. The cost of one job is what that single order consumes. Keep these separate, the machine is a fixed cost you recover over months, not a line item on every ceramic tile.
A simple split:
- Startup: laser cutter, exhaust system, computer, design software, initial materials
- Per job: blanks, machine time, labor, consumables, packaging, shipping, payment fees
Track both, but only the second category belongs in a customer's quote.
The Engraving Cost Formula: Materials, Labor, Machine Time, and Overhead
Use this formula for every quote:
Job price = (Materials + Labor + Machine time + Overhead) × (1 + Profit margin)
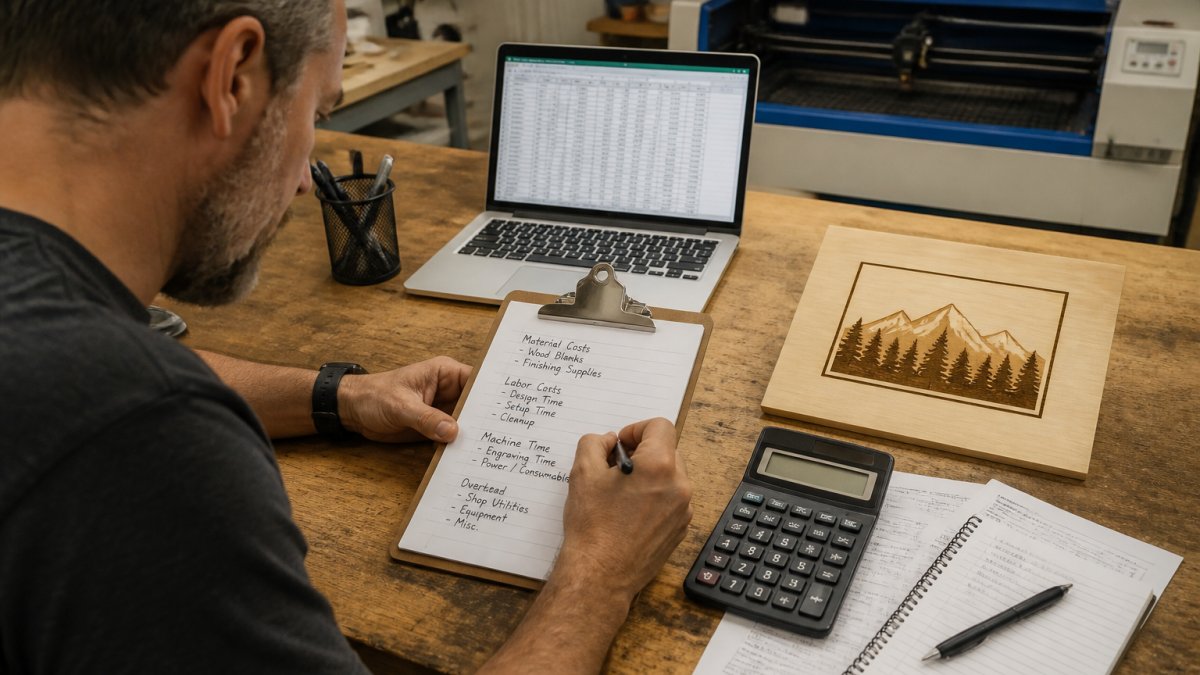
Each term is a real cost you can measure. Materials are the blanks and consumables. Labor is your hands-on time, including design prep and artwork cleanup. Machine time is the minutes the laser runs.
How to Calculate Each Term
Labor. Multiply your target hourly wage by the hands-on minutes per job, then divide by 60. Include file setup, taping and positioning the blank, focus checks, and inspection.
Overhead. Apply a fixed percentage, commonly 10-20%, to the sum of materials, labor, and machine time.
A common mistake is charging for machine time but forgetting the minutes spent setting up the file, taping the blank, and checking focus.
Worked Example: Pricing a 50-Piece Ceramic Tile Order
Here is the same formula with real numbers. Assume a 40-watt CO2 laser, a $25 per hour labor target, and a $0.50 per minute machine rate.
| Line | Calculation | Amount |
|---|---|---|
| Blanks (50 tiles at $1.20 each) | 50 × $1.20 | $60.00 |
| Consumables allowance (10%) | $60.00 × 0.10 | $6.00 |
| Design preparation (one-time, 30 min) | 0.5 hr × $25.00 | $12.50 |
| Machine time (4 min per tile × 50) | 200 min × $0.50 | $100.00 |
| Labor (1.5 min per tile × 50) | 75 min ÷ 60 × $25.00 | $31.25 |
| Subtotal | , | $209.75 |
| Overhead (15%) | $209.75 × 0.15 | $31.46 |
| Cost before margin | , | $241.21 |
| Profit margin (40%) | $241.21 × 0.40 | $96.48 |
| Quoted price | , | $337.69 |
| Per-tile price | $337.69 ÷ 50 | $6.75 |
Design preparation is a one-time cost. If the customer reorders 50 tiles with the same file, you drop the $12.50 setup line and the per-tile price falls to roughly $6.50, exactly why bulk orders get a lower unit rate.
How Job Specifications Change the Quote
The formula stays the same, but the inputs move with the job:
- Material: Hardwoods and coated metals cost more per blank than acrylic or MDF, and some require multiple passes, raising machine time.
- Size and engraving area: Doubling the engraved area roughly doubles machine time.
- Complexity: Fine detail, deep cuts, and raster fills take longer than simple vector lines. A photo engraving can take several times longer than a logo outline of the same size.
Run the numbers for each job rather than guessing, a quote built on the formula above will hold up when the invoice is paid.
How a Laser Engraving Pricing Spreadsheet Keeps Every Quote Consistent
A laser engraving pricing spreadsheet is the difference between guessing and knowing. It stores your material costs, machine rate, and labor rate in one place, then calculates the quote for you. Build these columns:
| Column | What It Holds | Example Entry |
|---|---|---|
| Material | Cost per blank and consumables | Tile, wood, acrylic |
| Machine rate | Cost per minute of laser time | Your calculated rate |
| Labor rate | Your hourly rate | Your target wage |
| Setup charge | One-time design or file fee | Per order |
| Overhead % | Fixed percentage | Power, wear, software |
| Margin % | Your profit target | Per job type |
Update the material column whenever a supplier changes prices, without that habit, your quotes drift out of date and your profit margin shrinks unnoticed.
When to Charge a Laser Engraving Setup Fee and Minimum Charge
Charge a laser engraving setup fee whenever a job requires new artwork, file preparation, or a test run. It covers the work you do before the laser ever fires, real, measurable time.
How to Calculate a Setup Fee
Build the setup fee from the same formula you use for the job, but strip out the per-item terms:
Setup fee = (Design time + File preparation + Test run) × (1 + Overhead %) × (1 + Profit margin)
A common pattern is to charge your labor rate for design and file prep, then add a flat test-run charge covering material and machine time for one sacrificial piece. At $25 per hour and 45 minutes of cleanup and testing, the setup fee lands near $18.75 before overhead and margin, often rounded to $25 or $35.
Setting a Minimum Charge
A minimum charge protects you on tiny orders, a single personalized gift still takes time to design, set up, and run. Calculate your minimum by adding the smallest realistic job's materials, labor, machine time, and overhead, then applying your margin. If that number is $15, your minimum should be at least $15; many shops set it at $25 to cover unbillable minutes.
Rules That Work
- New artwork: charge a setup fee every time
- Repeat orders with the same file: waive the setup fee
- One-off items: apply your minimum charge
- Rush jobs: add a priority fee, commonly 15-25% of the job total
How to Explain the Fee to a Customer
Be transparent about the setup fee. Customers accept it when you explain it covers design and test work, not just the engraving. A simple script works:
"The setup fee covers preparing your artwork and running a test piece so the final engraving is clean. Once that file is on hand, reorders skip the fee entirely."
That last sentence justifies the charge and encourages repeat business.
A setup fee is not a penalty, it is the price of a clean first run. Waiving it on reorders rewards loyalty without giving away your design time.
A Customer-Facing Estimate Template
Keep the customer's quote simple. Save the full cost breakdown for your own tracker. A clean estimate looks like this:
| Line item | Description | Amount |
|---|---|---|
| Setup | Artwork preparation and test run | $35.00 |
| Materials | 50 ceramic tiles | $66.00 |
| Engraving | 50 pieces, 4 min each | $131.25 |
| Total | , | $232.25 |
The estimate shows four lines, not the ten-line internal breakdown. The customer sees what they pay for; you keep the machine rate, overhead percentage, and margin in your spreadsheet, that separation lets you adjust internal numbers without renegotiating every quote.
State your setup fee and minimum charge on your website and in your first reply to every inquiry. Customers who know the fee up front rarely argue about it later, and you save the back-and-forth on jobs that were never going to be profitable.
Wholesale Laser Engraving Pricing for Bulk and Repeat Orders
Wholesale laser engraving pricing is a lower unit rate for volume, built on the fact that your setup cost is spread across more pieces. Your per-item cost genuinely falls as quantity rises, so a volume discount is honest, not a giveaway. Set tiers by quantity: a 10-piece order pays full rate, a 100-piece order pays less per item because setup time is amortized.
Volume pricing works because setup and design costs are fixed per order, not per item. The more pieces you run, the thinner that fixed cost spreads, which is why bulk buyers legitimately pay less per unit.
Watch your floor. Never discount below your true cost per item, even on a large order. A big order at a loss is worse than no order.
Setting a Laser Engraving Profit Margin You Can Defend
Your laser engraving profit margin is the percentage you add on top of cost to cover risk and earn a living, not greed, but what keeps the lights on and the laser maintained. Custom one-off work carries more design risk and earns a higher margin; repeat production runs are lower risk, so a thinner margin is fine.
Where the margin hides:
- Failed jobs and test runs eat into profit if you don't price for them
- Packaging and shipping are real costs, not free extras
- Payment processing fees take a slice of every sale
- Maintenance on the laser is a recurring cost you must recover
A common mistake is quoting a margin that ignores these. Price them in from the start, and your stated margin becomes the margin you actually keep.
Quote, Track, and Adjust: A Repeatable Pricing Workflow
A repeatable workflow keeps every quote consistent, whether you write one a week or twenty.
- Log the job details: material, size, engraving area, and complexity
- Pull current material costs from your spreadsheet
- Estimate machine time and labor time
- Add overhead, then apply your margin
- Send the quote with clear line items
- Track the actual cost after the job and compare it to the estimate
- Adjust your rates when the gap is consistent
That last step is where most small businesses fall behind. If your estimates are consistently low, your rates are wrong, not your luck.
For a customer-facing estimate, keep it simple: materials, setup, engraving, and total. Save the full breakdown for your own tracker. The U.S. Small Business Administration's pricing and costing guidance is a useful reference for building a cost structure that holds up. The IRS guidance on business expenses helps you separate deductible equipment investment from per-job costs. For general small-business financial benchmarks, SCORE's small business resources is a solid starting point.
Pricing custom laser engraving for a small business comes down to one habit: know your true cost before you quote.
At Dr. Stymie's Maker Products, LLC., our Maker Lab handles custom laser engraving, laser-cut products, 3D printing, and personalized gifts for everything from a single piece to small production runs.
Frequently Asked Questions
How do you calculate custom laser engraving cost for a small business?
Add four numbers: materials including blanks and consumables, labor at your target hourly rate, machine time at a rate that covers purchase, maintenance, and electricity, and an overhead share for rent, software, and insurance. Divide the total by the number of good pieces, then add your markup. A spreadsheet that updates these figures for every job keeps quotes consistent and shows exactly where money goes.
Should I charge a laser engraving setup fee on every order?
Charge a setup fee whenever the job requires new artwork preparation, a test engraving, or a fresh fixture. A one-time personalized gift may not justify it, but repeat production runs usually do. Many shops fold setup into a minimum charge so small orders still cover the time spent preparing files. State the fee separately on the quote so customers see what it covers.
Is laser engraving a profitable business in 2026?
Profitability depends on your pricing discipline, not the machine. Shops that track materials, labor, machine time, and overhead in a pricing spreadsheet protect their laser engraving profit margin better than shops that guess. Bulk and wholesale work can lower your per-item price, but only if volume pricing still covers setup, packaging, and payment processing fees. Review your numbers quarterly.
How does wholesale laser engraving pricing differ from retail?
Wholesale buyers order in larger quantities and expect a lower per-item rate, so you spread setup and artwork costs across more pieces. The risk is quoting too low and losing money on labor or machine time. Build a volume tier into your spreadsheet that reduces the per-item price while keeping a fixed floor for materials, packaging, shipping, and payment fees. Never discount below that floor.